The Case of the Missing D!

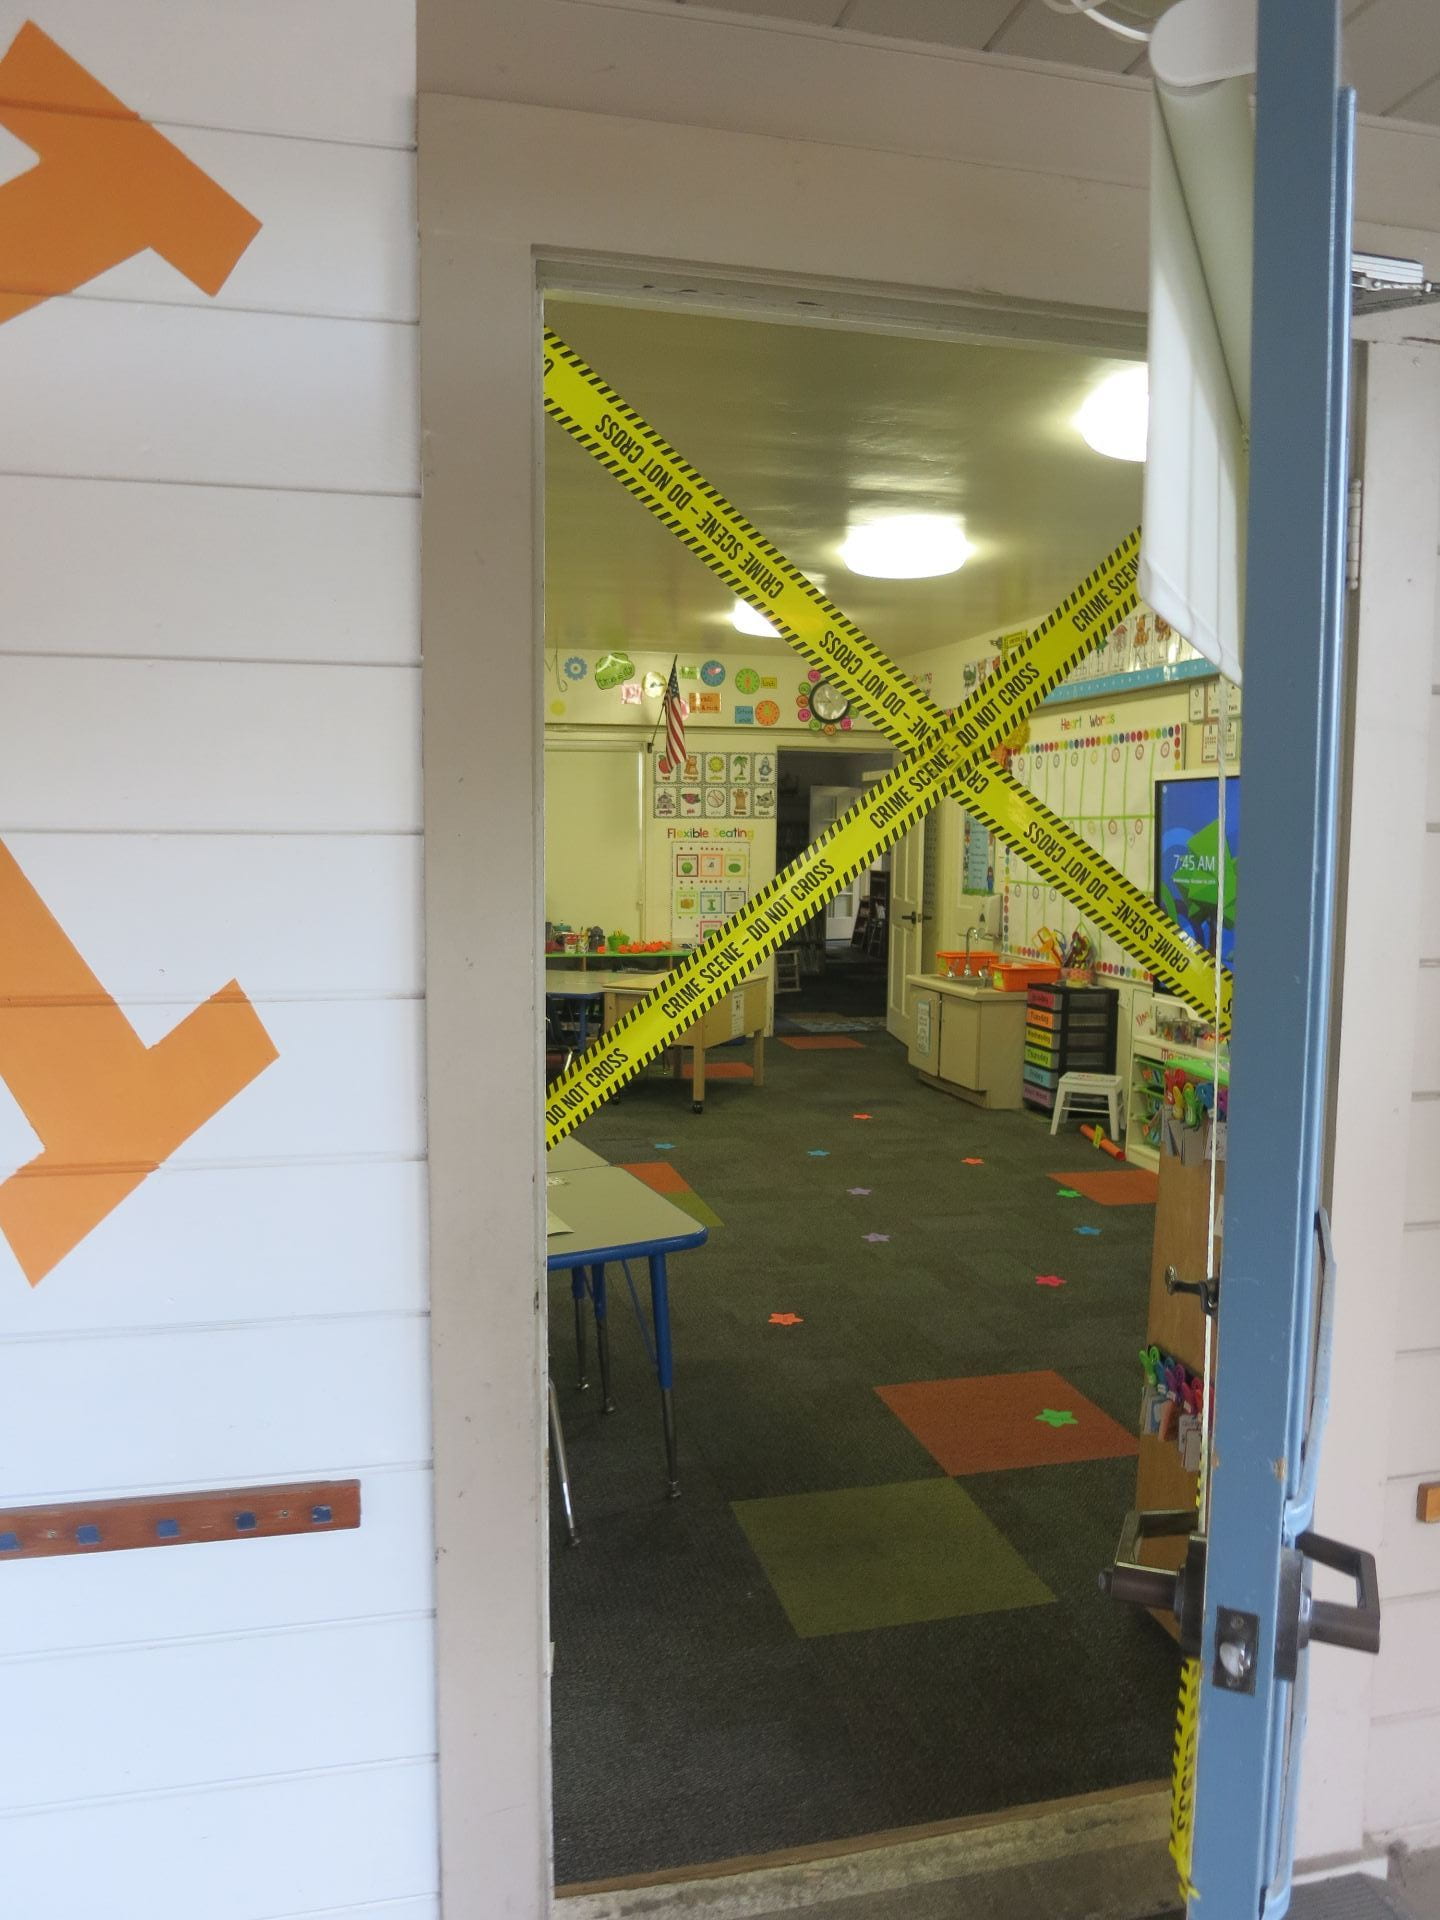
We wrapped up reviewing the alphabet last week. When I arrived at school this morning, the letter D was missing from our alphabet. There was crime scene tape around the classroom and six mug shots on my white board! What better way to celebrate our learning than to solve the Case of the Missing D!

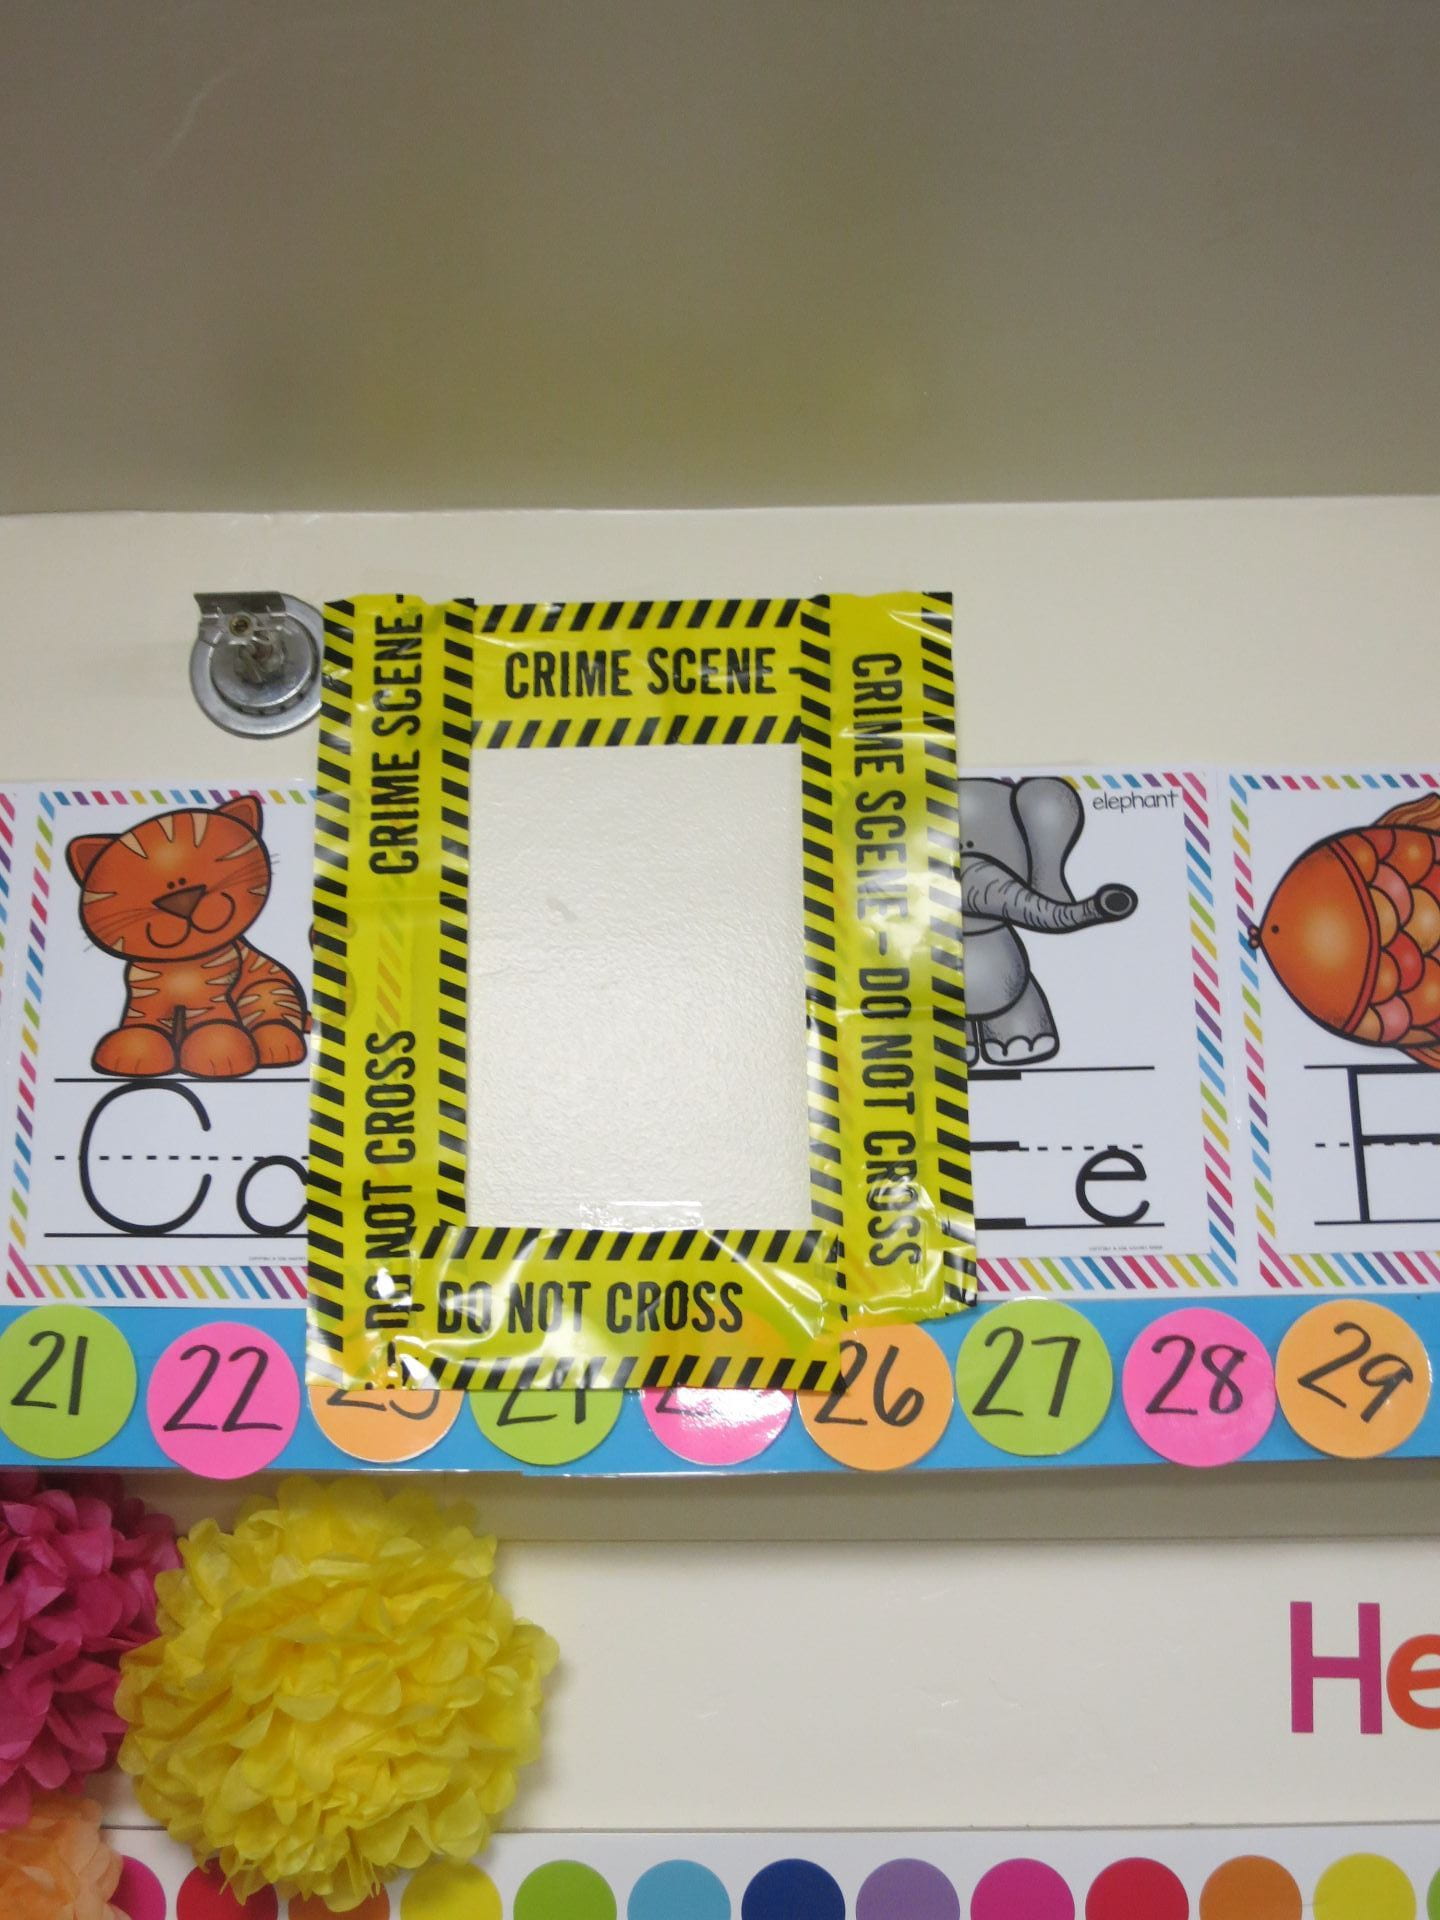
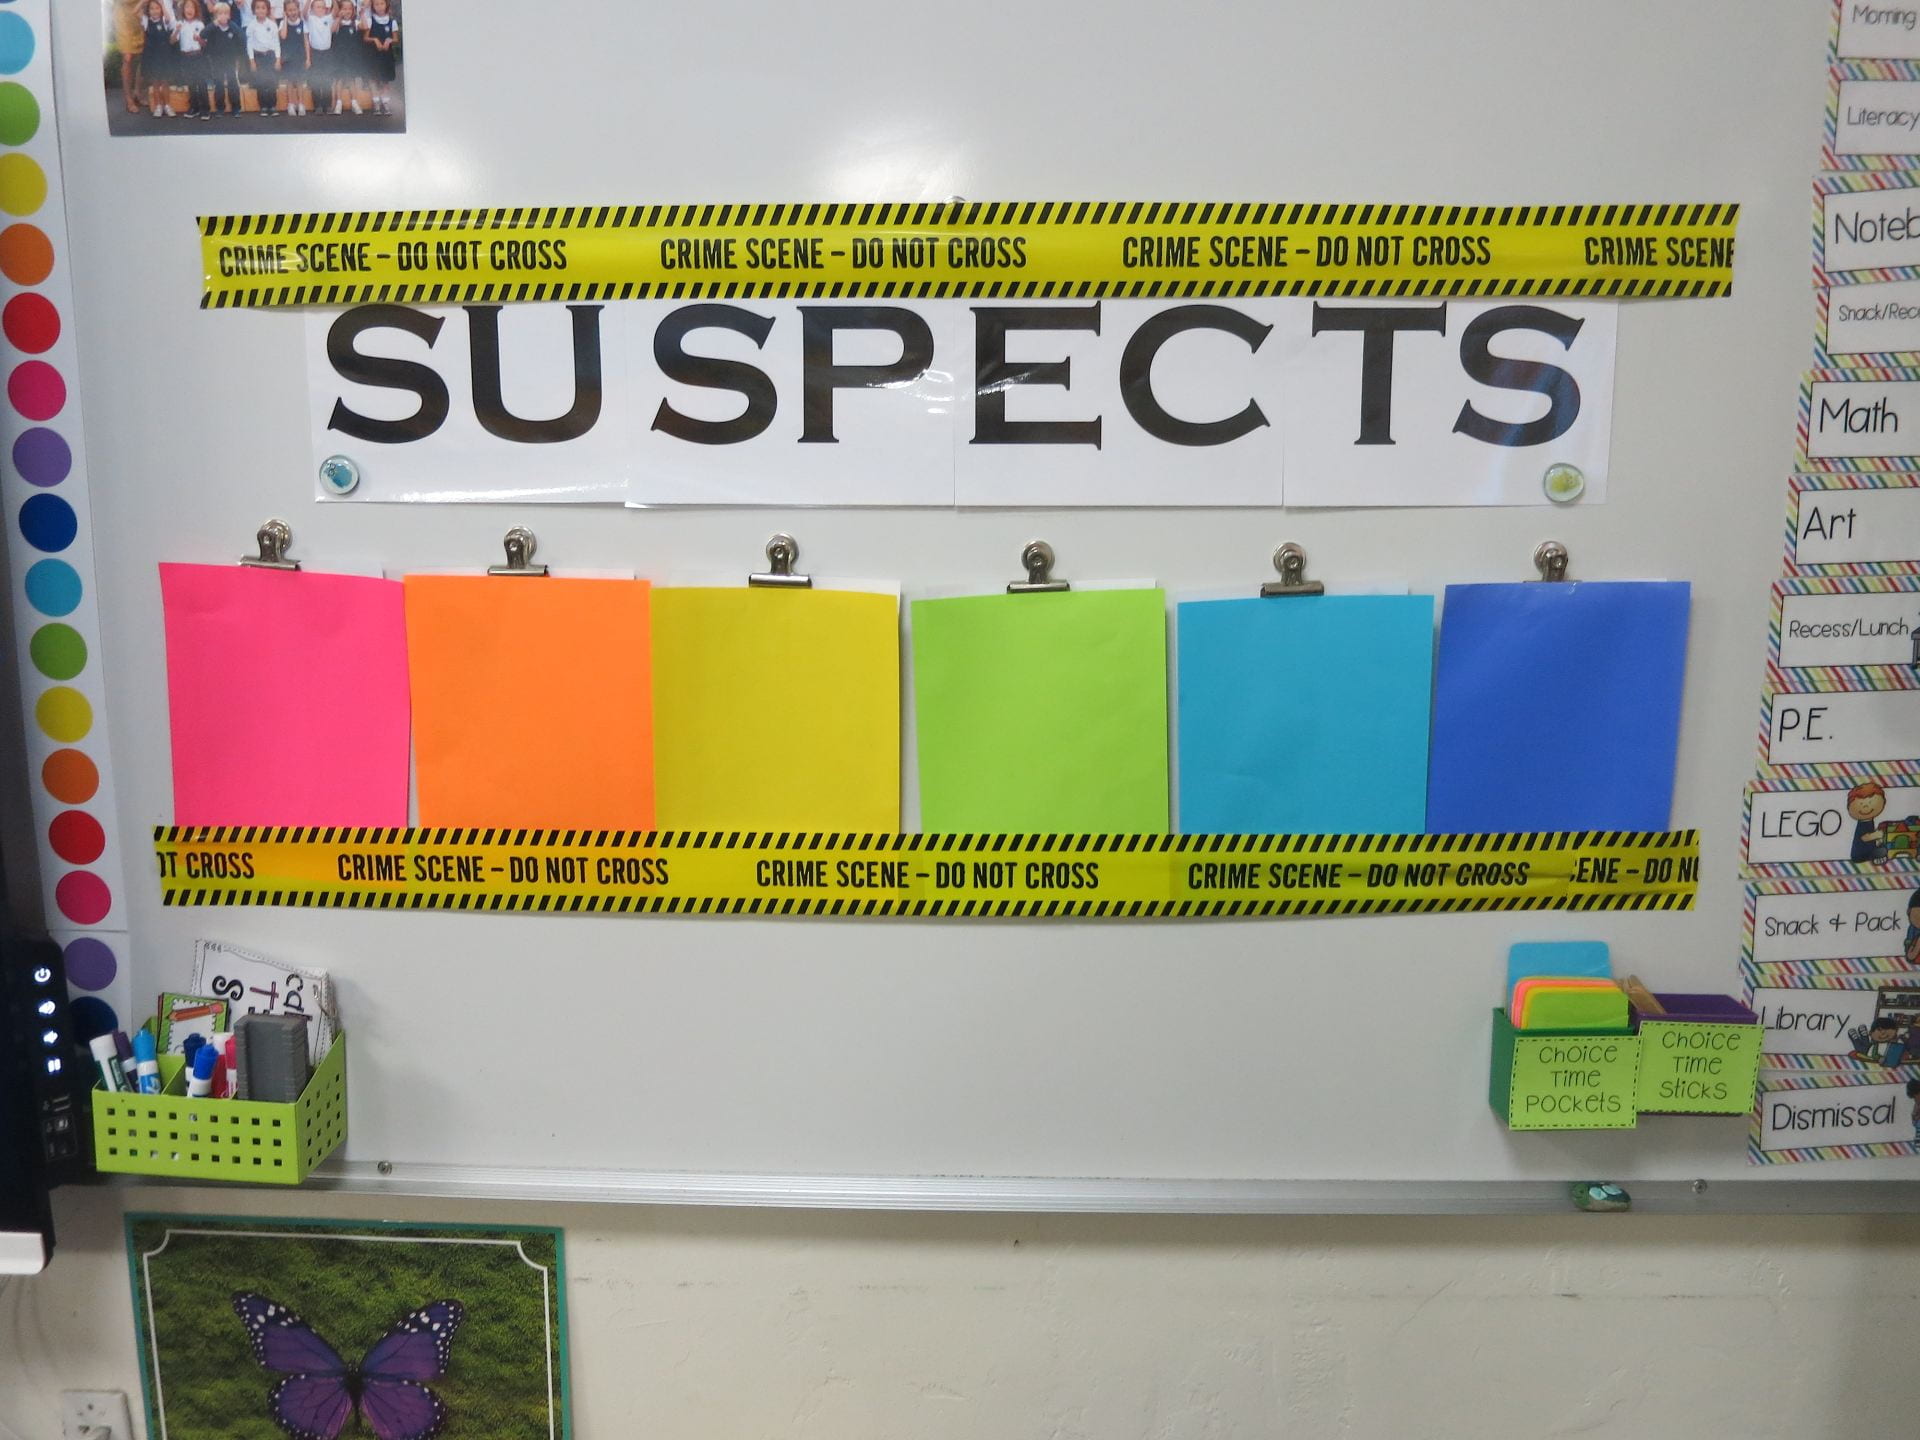
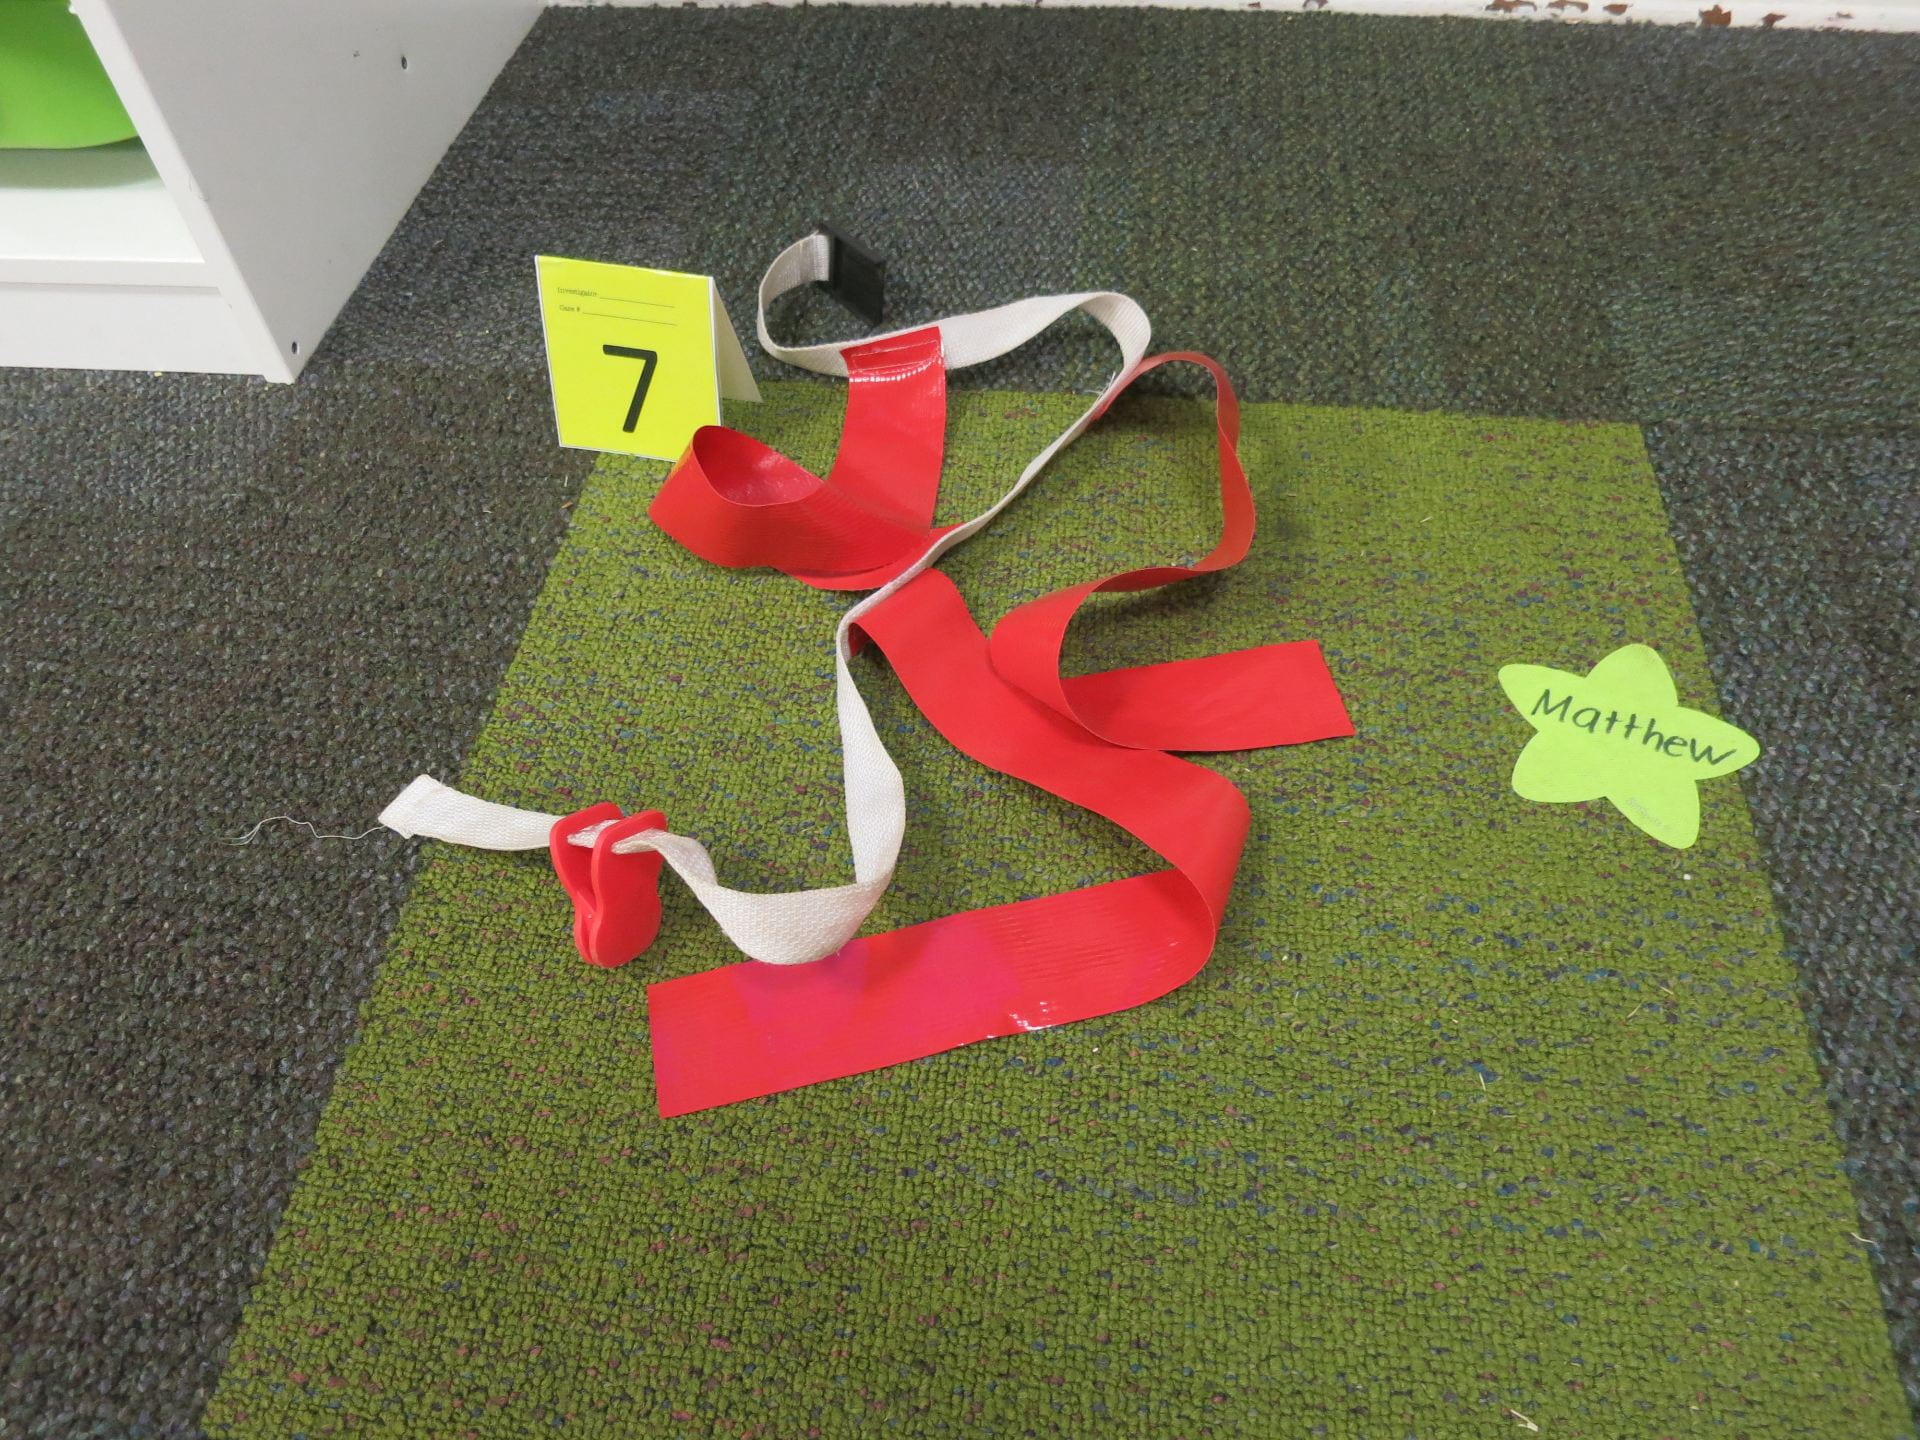
Scattered around the room were pieces of evidence linking specific teachers to the crime. Just who took that letter D?

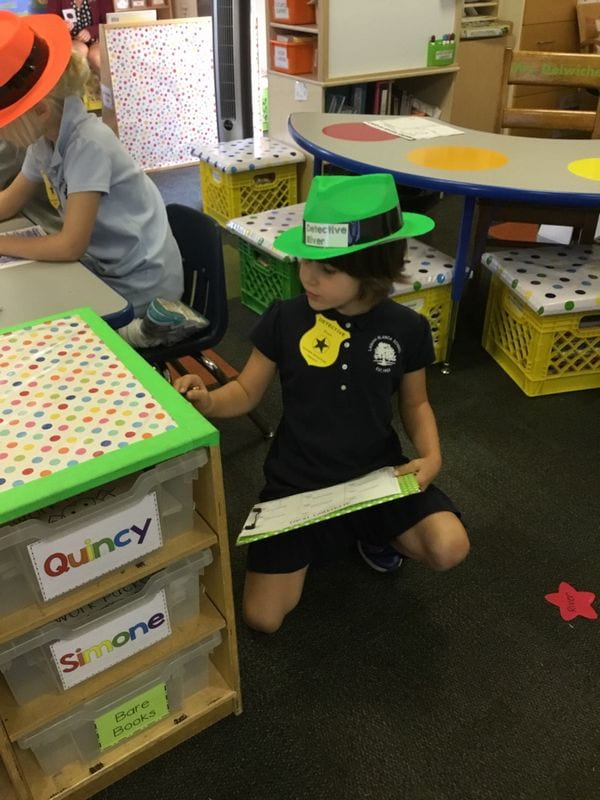
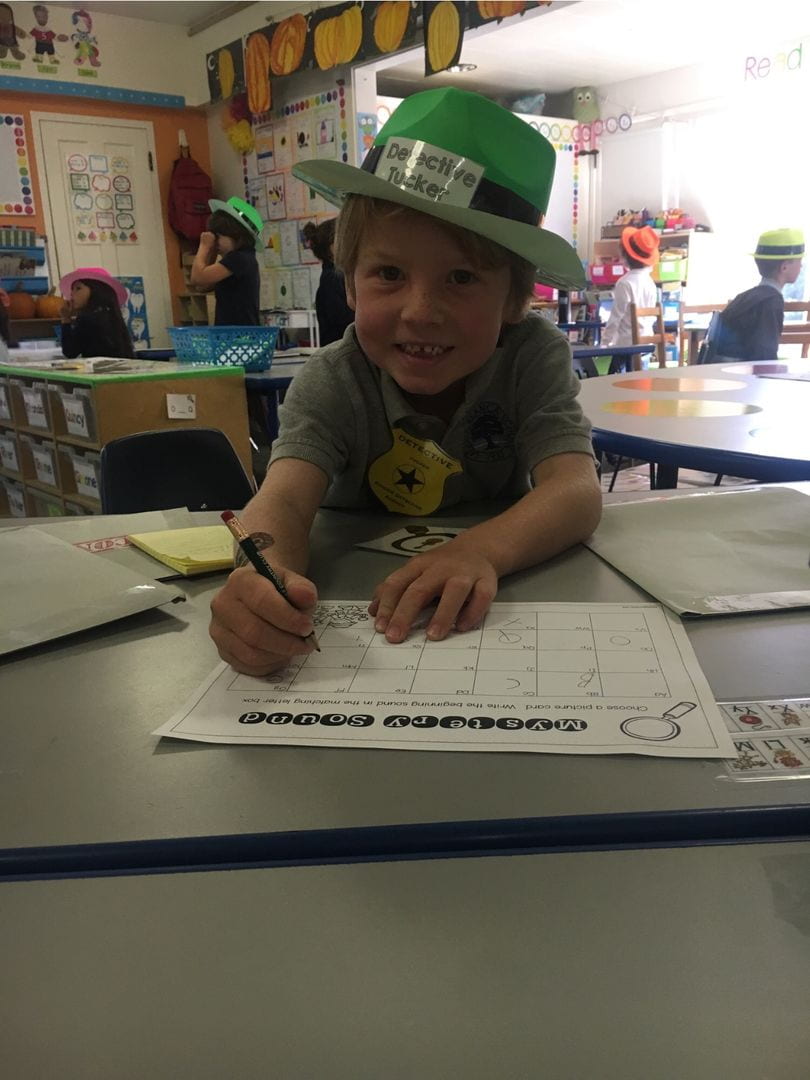
Students received a detective badge, fedora, and briefcase.

Inside the briefcase was a magnifying glass, a mini pad of paper, and a mini pencil. They were ready to enter the crime scene and discover who the suspects were. Here is some of the evidence that was left behind:

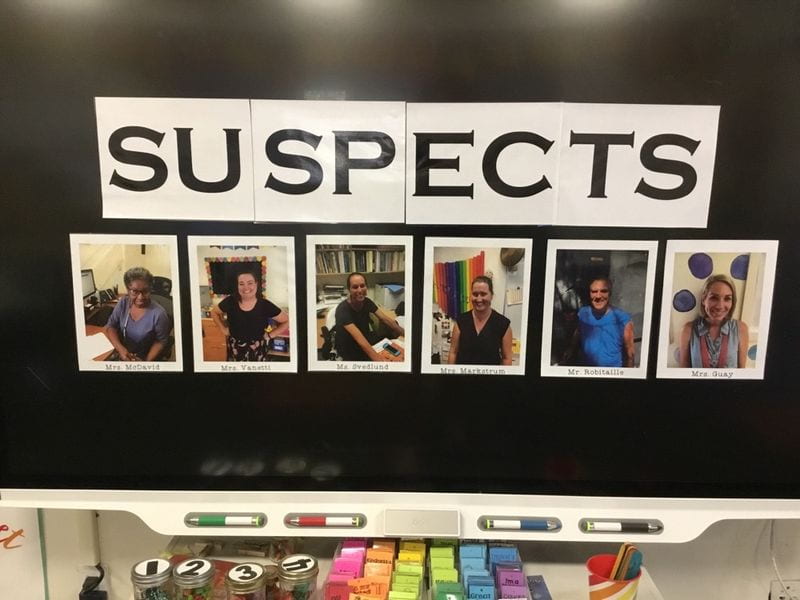
From the evidence, we decided the suspects were:


Ohhhh, the EXCITEMENT!!

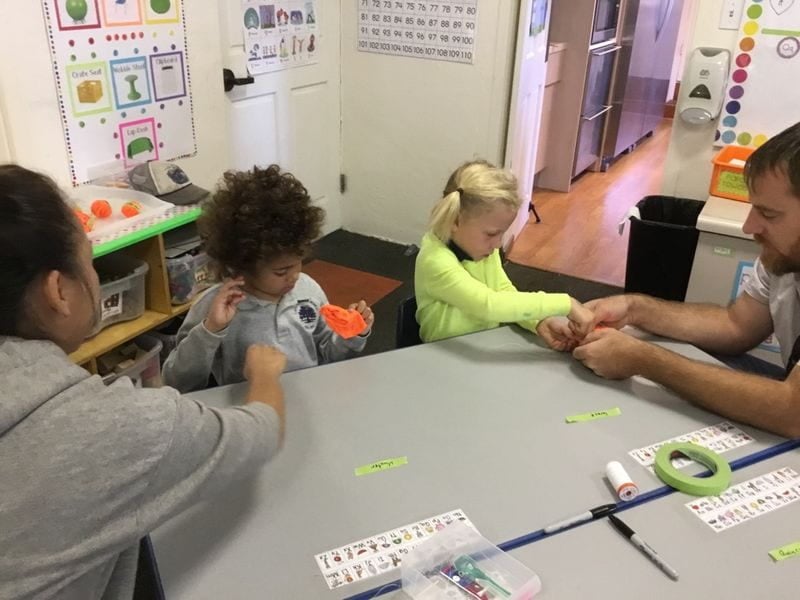
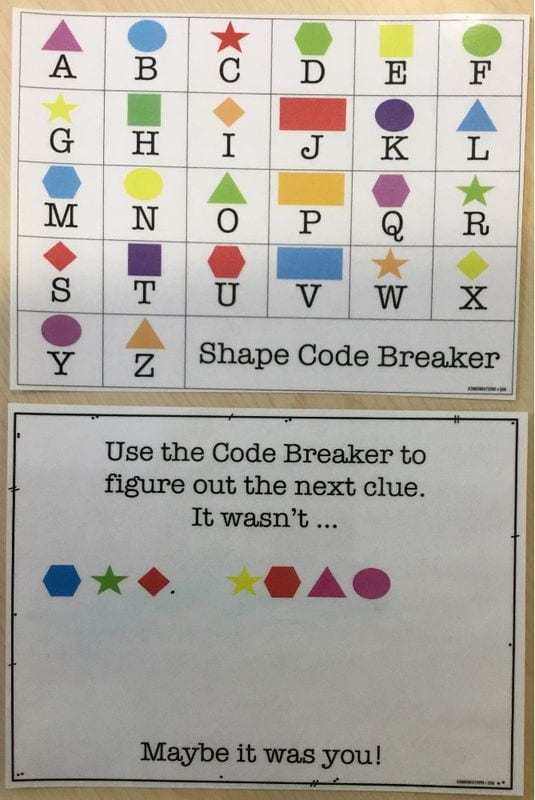
Next, students had five language arts activities they needed to complete in order to open the secret evidence cases. Each of the evidence cases had a puzzle to solve that gave them the name of a suspect who DID NOT take the letter D.

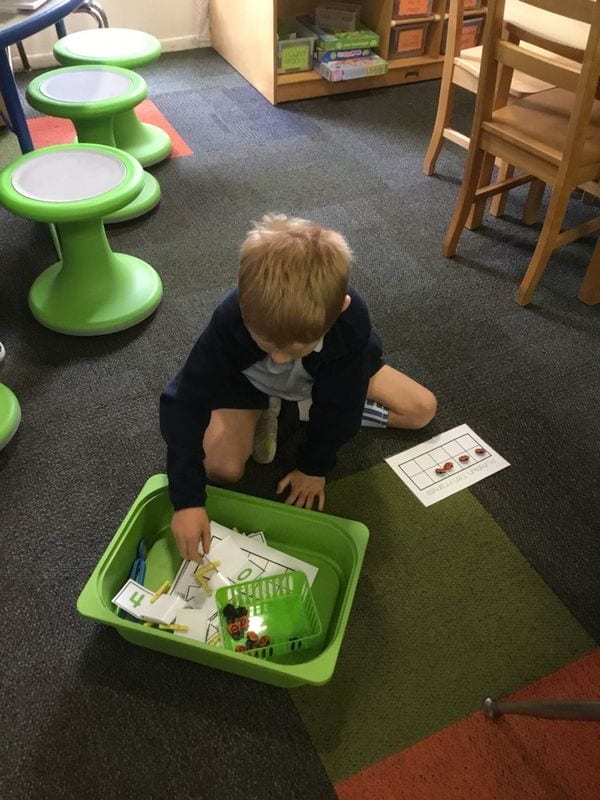
Activity 1: Students went on a letter hunt around the classroom in search of letter cards. They had to figure out which letter was missing and record their answer.

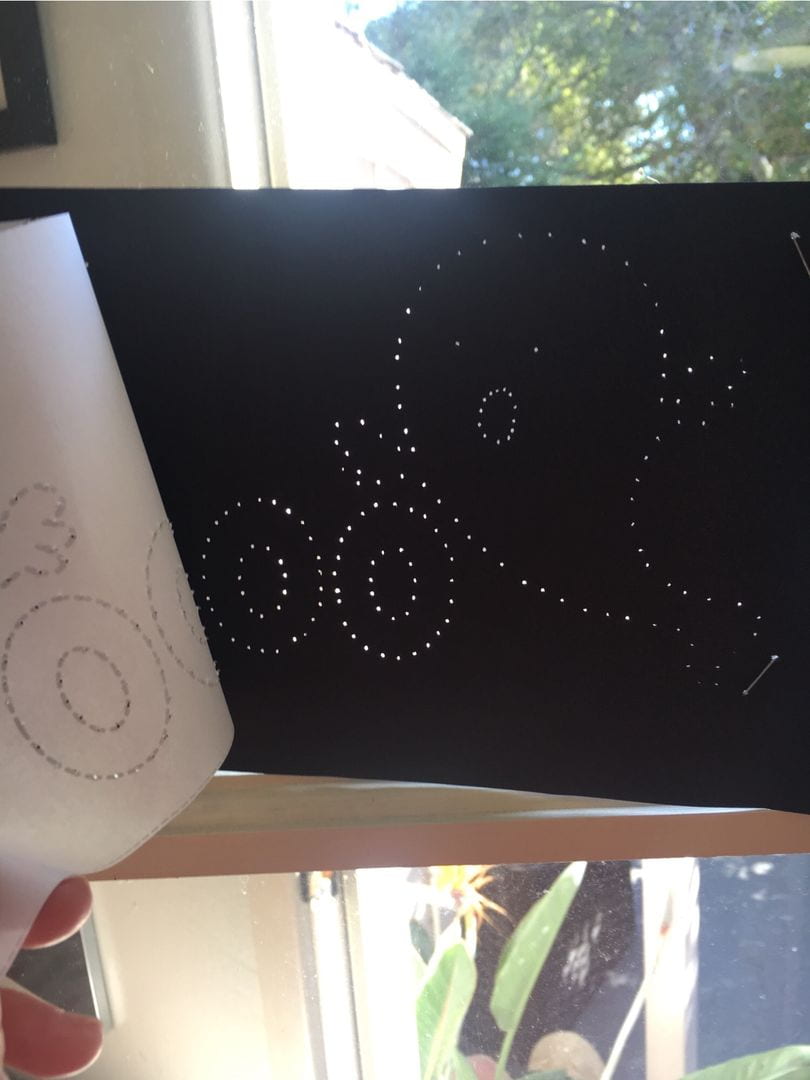
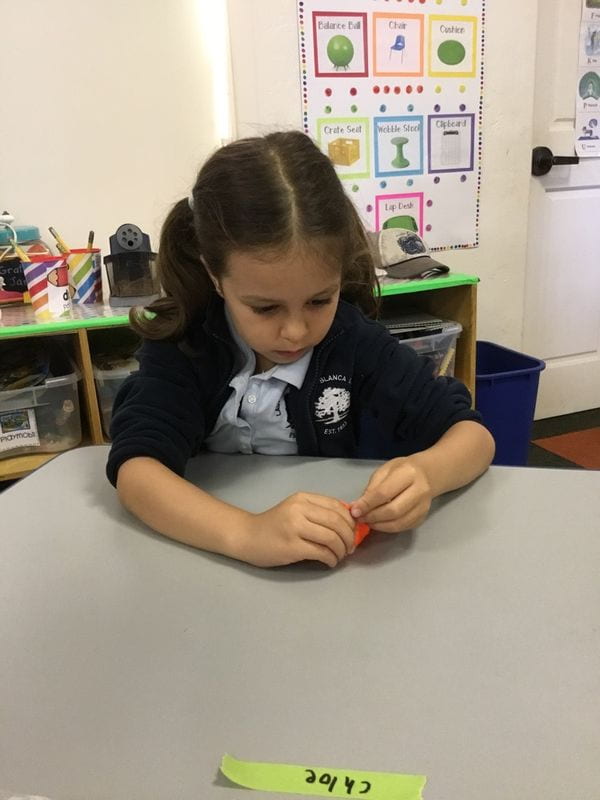
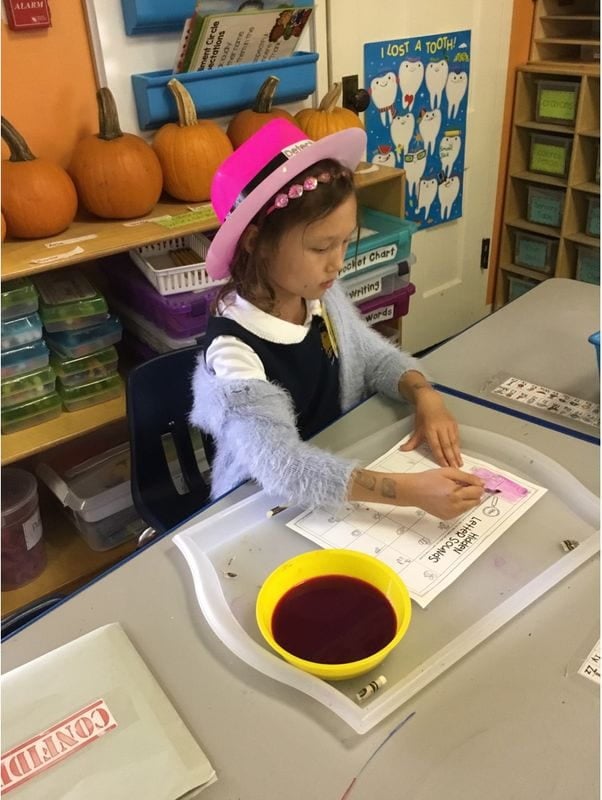
Next, students identified the beginning letter in a picture. They recorded the letter in white crayon and then made it magically appear by painting over it with water color.

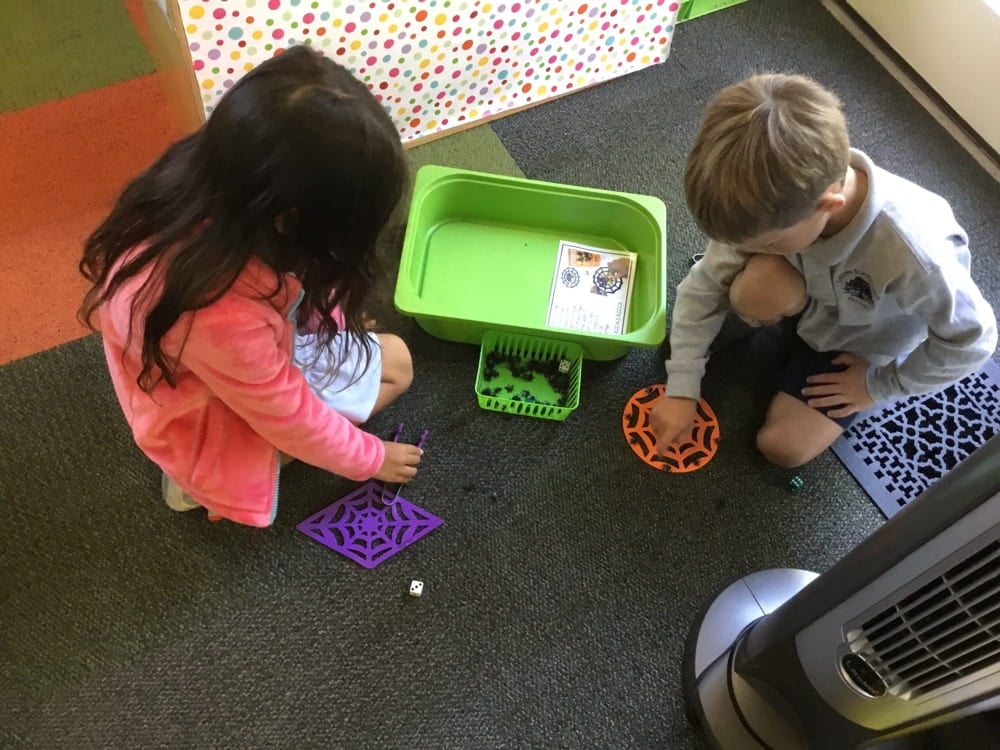
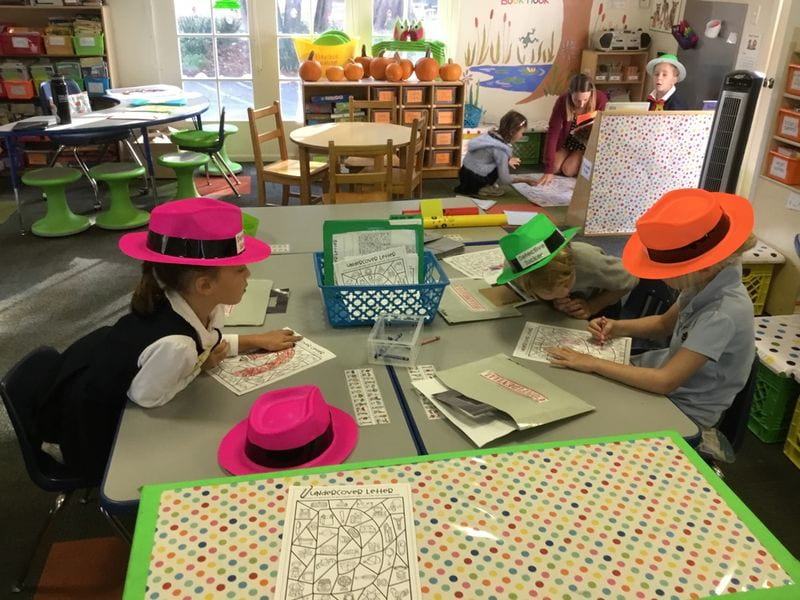
Third, students had to color pictures according to the key provided.

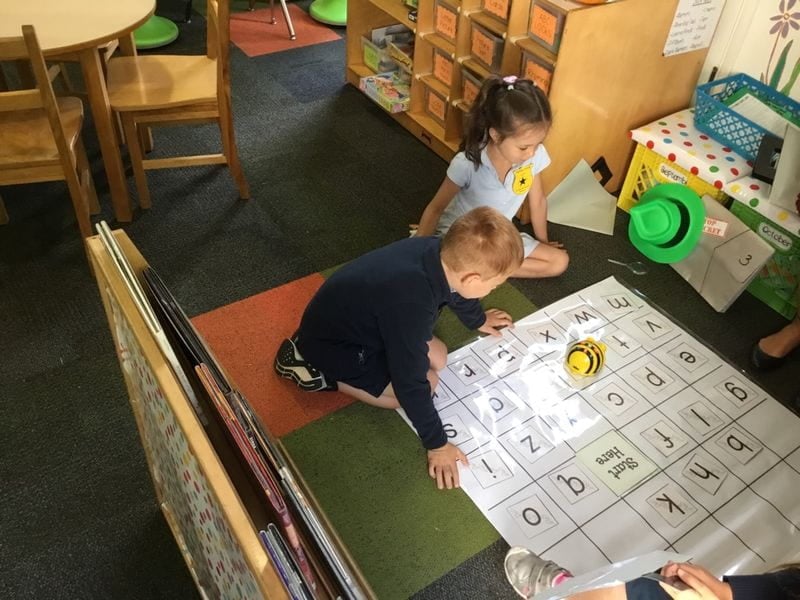
Students used Bee Bots for the fourth activity. They chose a card with a picture on it and then coded the Bee Bot to go to the beginning letter sound.

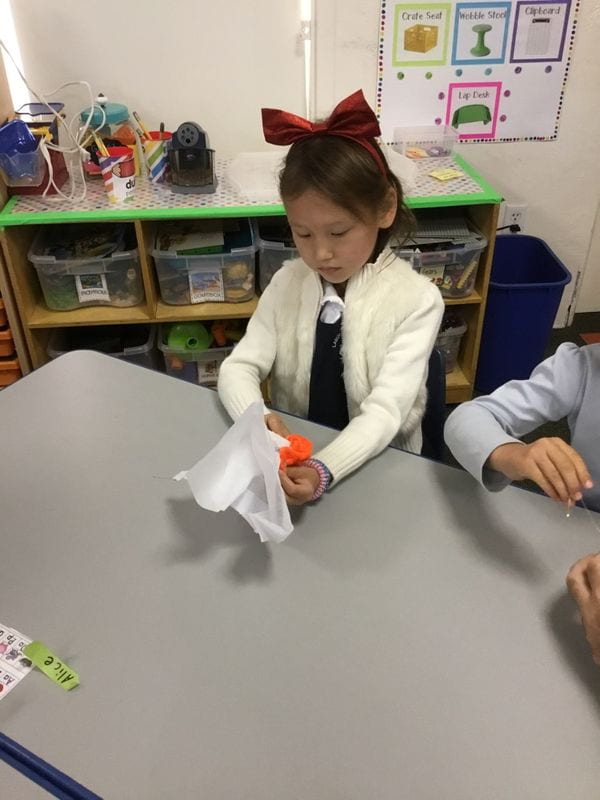
The final activity involved the sensory table. Students worked to uncover magnifying glasses with pictures. They wrote down the beginning sound for each picture.

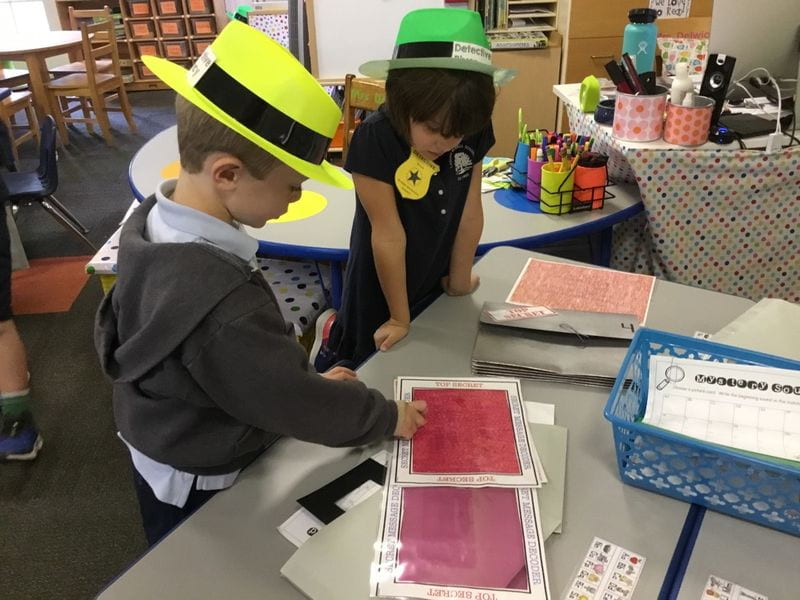
After each activity, students opened the TOP SECRET briefcase where they found a clue telling them who did not steal the D.

The students quickly discovered that the person who took the letter D was Mrs. Vanetti! We decided to take a walk to her classroom and figure out WHY she took our D!

Congratulations to the Kinder Detective Agency for solving the Case of the Missing D!


October Morning Exploring

With the new month comes new Morning Exploring tubs. The creepy crawlies are out and these students had no problem using the thematic manipulatives!

Students dig in sensory putty for googly eyes. They then sort them by color.


Students match numbers to coordinating tens frames and then clip them together.

Using stickers, students outline the shape of a pumpkin. They count to see how many stickers they used.


Students choose a number card and use pumpkin buttons and a ten frame to build the number.


Color patterns are extended. Students use tweezers to put the colored pom-poms in order.


Students roll one or two dice and move that many flies onto the spider web using tongs.

Using a push pin, students create a stained glass window effect.

Students use a hole punch to punch out teen numbers.

The last activity has students counting and recording the number of pumpkins in each container.

These activities keep the students busy practicing so many different skills! We love Morning Exploring!


Sewing in Kindergarten?!

You bet! Sewing provides young learners with an opportunity to strengthen fine motor skills as well as hand-eye coordination. Sewing also teaches patience, persistence, and it helps grow self-confidence.  These projects are quite successful with a little extra preparation and a few extra sets of hands.

Our first sewing project was to sew a mini pumpkin using a bright orange dimple dot minky fabric.  I chose the right size bowl as the pattern and then traced the pumpkins.

After cutting out the pumpkins, I used a black Sharpie to create a dot-to-dot on what would be the inside of each pumpkin.

This dot-to-dot technique gave the students a place to aim their needles. It also helped keep students moving along in a way that each would complete the sewing portion of the project in the ten minutes I had allotted for each rotation.

Next, I threaded each of the needles that I had and tied a knot at the end of the thread. This way my parent volunteers were ready to start the actual sewing process without wasting any time threading needles.

I gave students an introduction to handling the sewing needle. (Though not the sharpest needles available, the needles I like to use could cause a small poke.) I showed the students that placing their fingers on the eye of the needle is the easiest and safest way to hold a needle. Plus, it prepares them for sewing in the future when they have to keep the thread from pulling through the eye. In anticipation of this sewing activity, I placed some lacing cards in one of the Literacy Workstations so that students could practice the motion of sewing a running stitch using a plastic lace that would not cause harm.

I reviewed the running stitch, and the students were ready to go! All of these little preparations really helped the students have a successful first classroom sewing activity! The two parent volunteers were the perfect cheerleaders, encouraging the students and praising their focus and tenacity.

Once the pumpkins were sewn, students stuffed them with a piece of tissue paper.

We then added a small stick as a stem.

How cute are these?! Your fall decor for years to come!

Friday Fun: Pumpkin Edition!

We had our first Friday Fun of the year that included parent volunteers. What a success it was! After our field trip to the pumpkin patch earlier this week, I wanted to find a recipe that used pumpkin. Pumpkin energy balls were the answer! The students had so much fun measuring and mixing the ingredients. Our aprons really helped keep the sticky mess off our uniforms!

Here is the recipe. I adjusted the amounts so that each group was able to make their own batch. All four batches combined made 24 energy balls.

For our craft activity, students sewed a mini pumpkin.

Look for a post on this activity early next week. Happy Fall!!

Pumpkin Patch

Our first field trip of the year was a huge success! The kindergarteners traveled to Lane Farms for a very special field trip. We toured the farm, took a hayride, and chose a perfect school-sized pumpkin. (Wait until you see for what these pumpkins will be used!) Enjoy the pictures!

What makes a field trip successful, fun, and educational? First, I always provide students with clear expectations and as much information as possible before embarking on the field trip. I also strive to keep trips active, organized, and as short yet meaningful as possible. Finally, scheduling this field trip to the pumpkin patch first thing in the morning made the patch less crowded and less hot. For me, I easily could keep an eye on the students because there were fewer outside people. In and out, but FUN for all!